10 How to cast screen to a TV/TV box/laptop
To cast screen, please make sure your TV/TV box supports Miracast. To find Miracast compatible devices, please refer to Wi-Fi Alliance product finder: https://www.wi-fi.org/miracast-products
To project the VR headset to a laptop, you should ensure that the operating system is Windows 10 system and the network adapter supports Miracast.
Below is a way to help you ensure if the network adapter supports Miracast:
Step1: Press “Windows” and “R” together to run a command “dxdiag” (see Figure 1), and then enter the DirectX Diagnostic Tool and click “Save All Information” (see Figure 2).
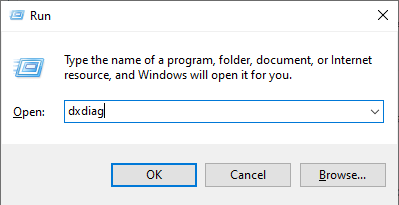
(Figure 1)
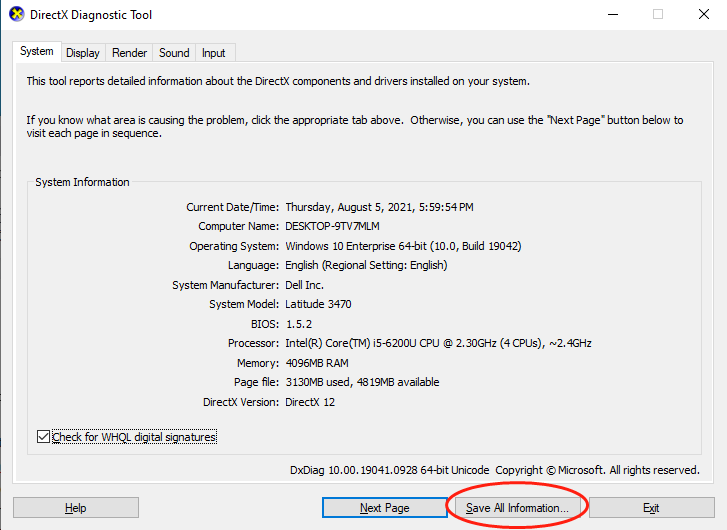
(Figure 2)
Step2: Save the textfile “DxDiag.txt” on the laptop desktop, and find “Miracast” in this textfile (see Figure 3). “Available” means that the laptop supports Miracast; “Not Available” means that the laptop does not support Miracast.
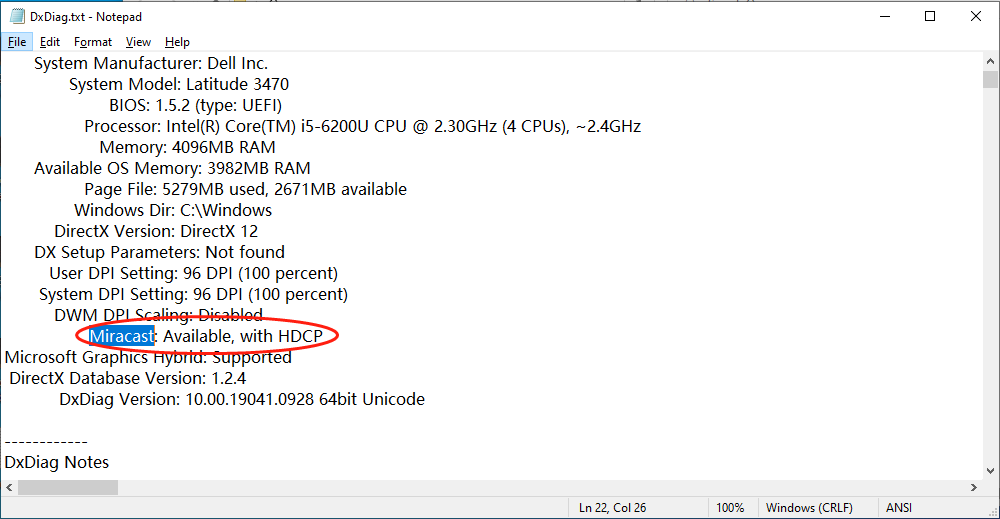
(Figure 3)
G2 4K series/ Neo2 series
1. Find Miracast application on TV/TV box, and make sure the application to start scanning.
2. Double click “Home” button on headset to pop up shortcut panel.
3. Click the “Screencast” button.
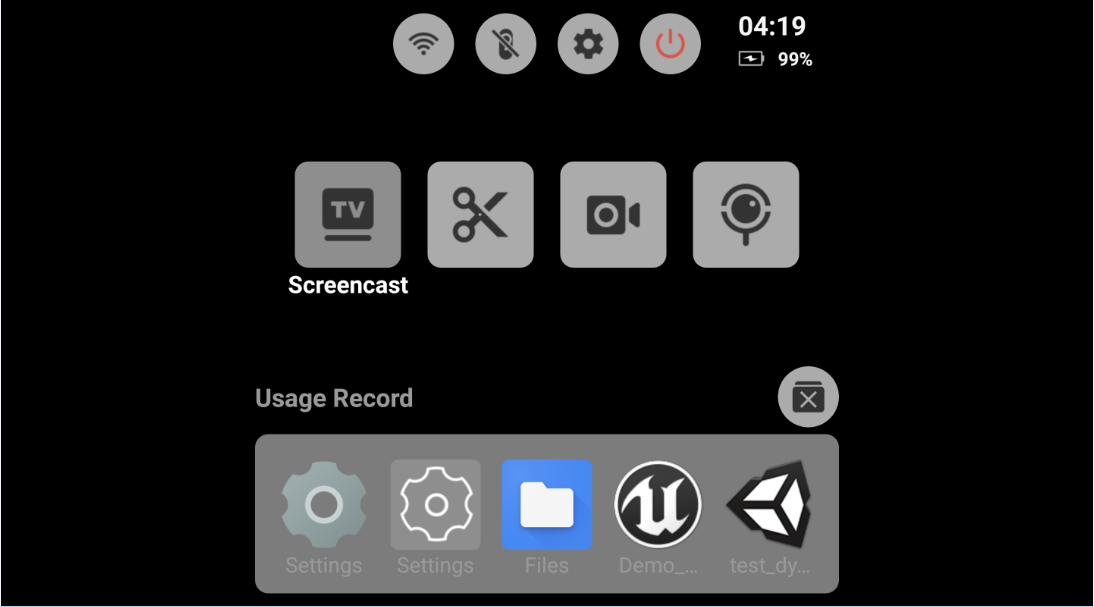
4. Choose projection device from the list.
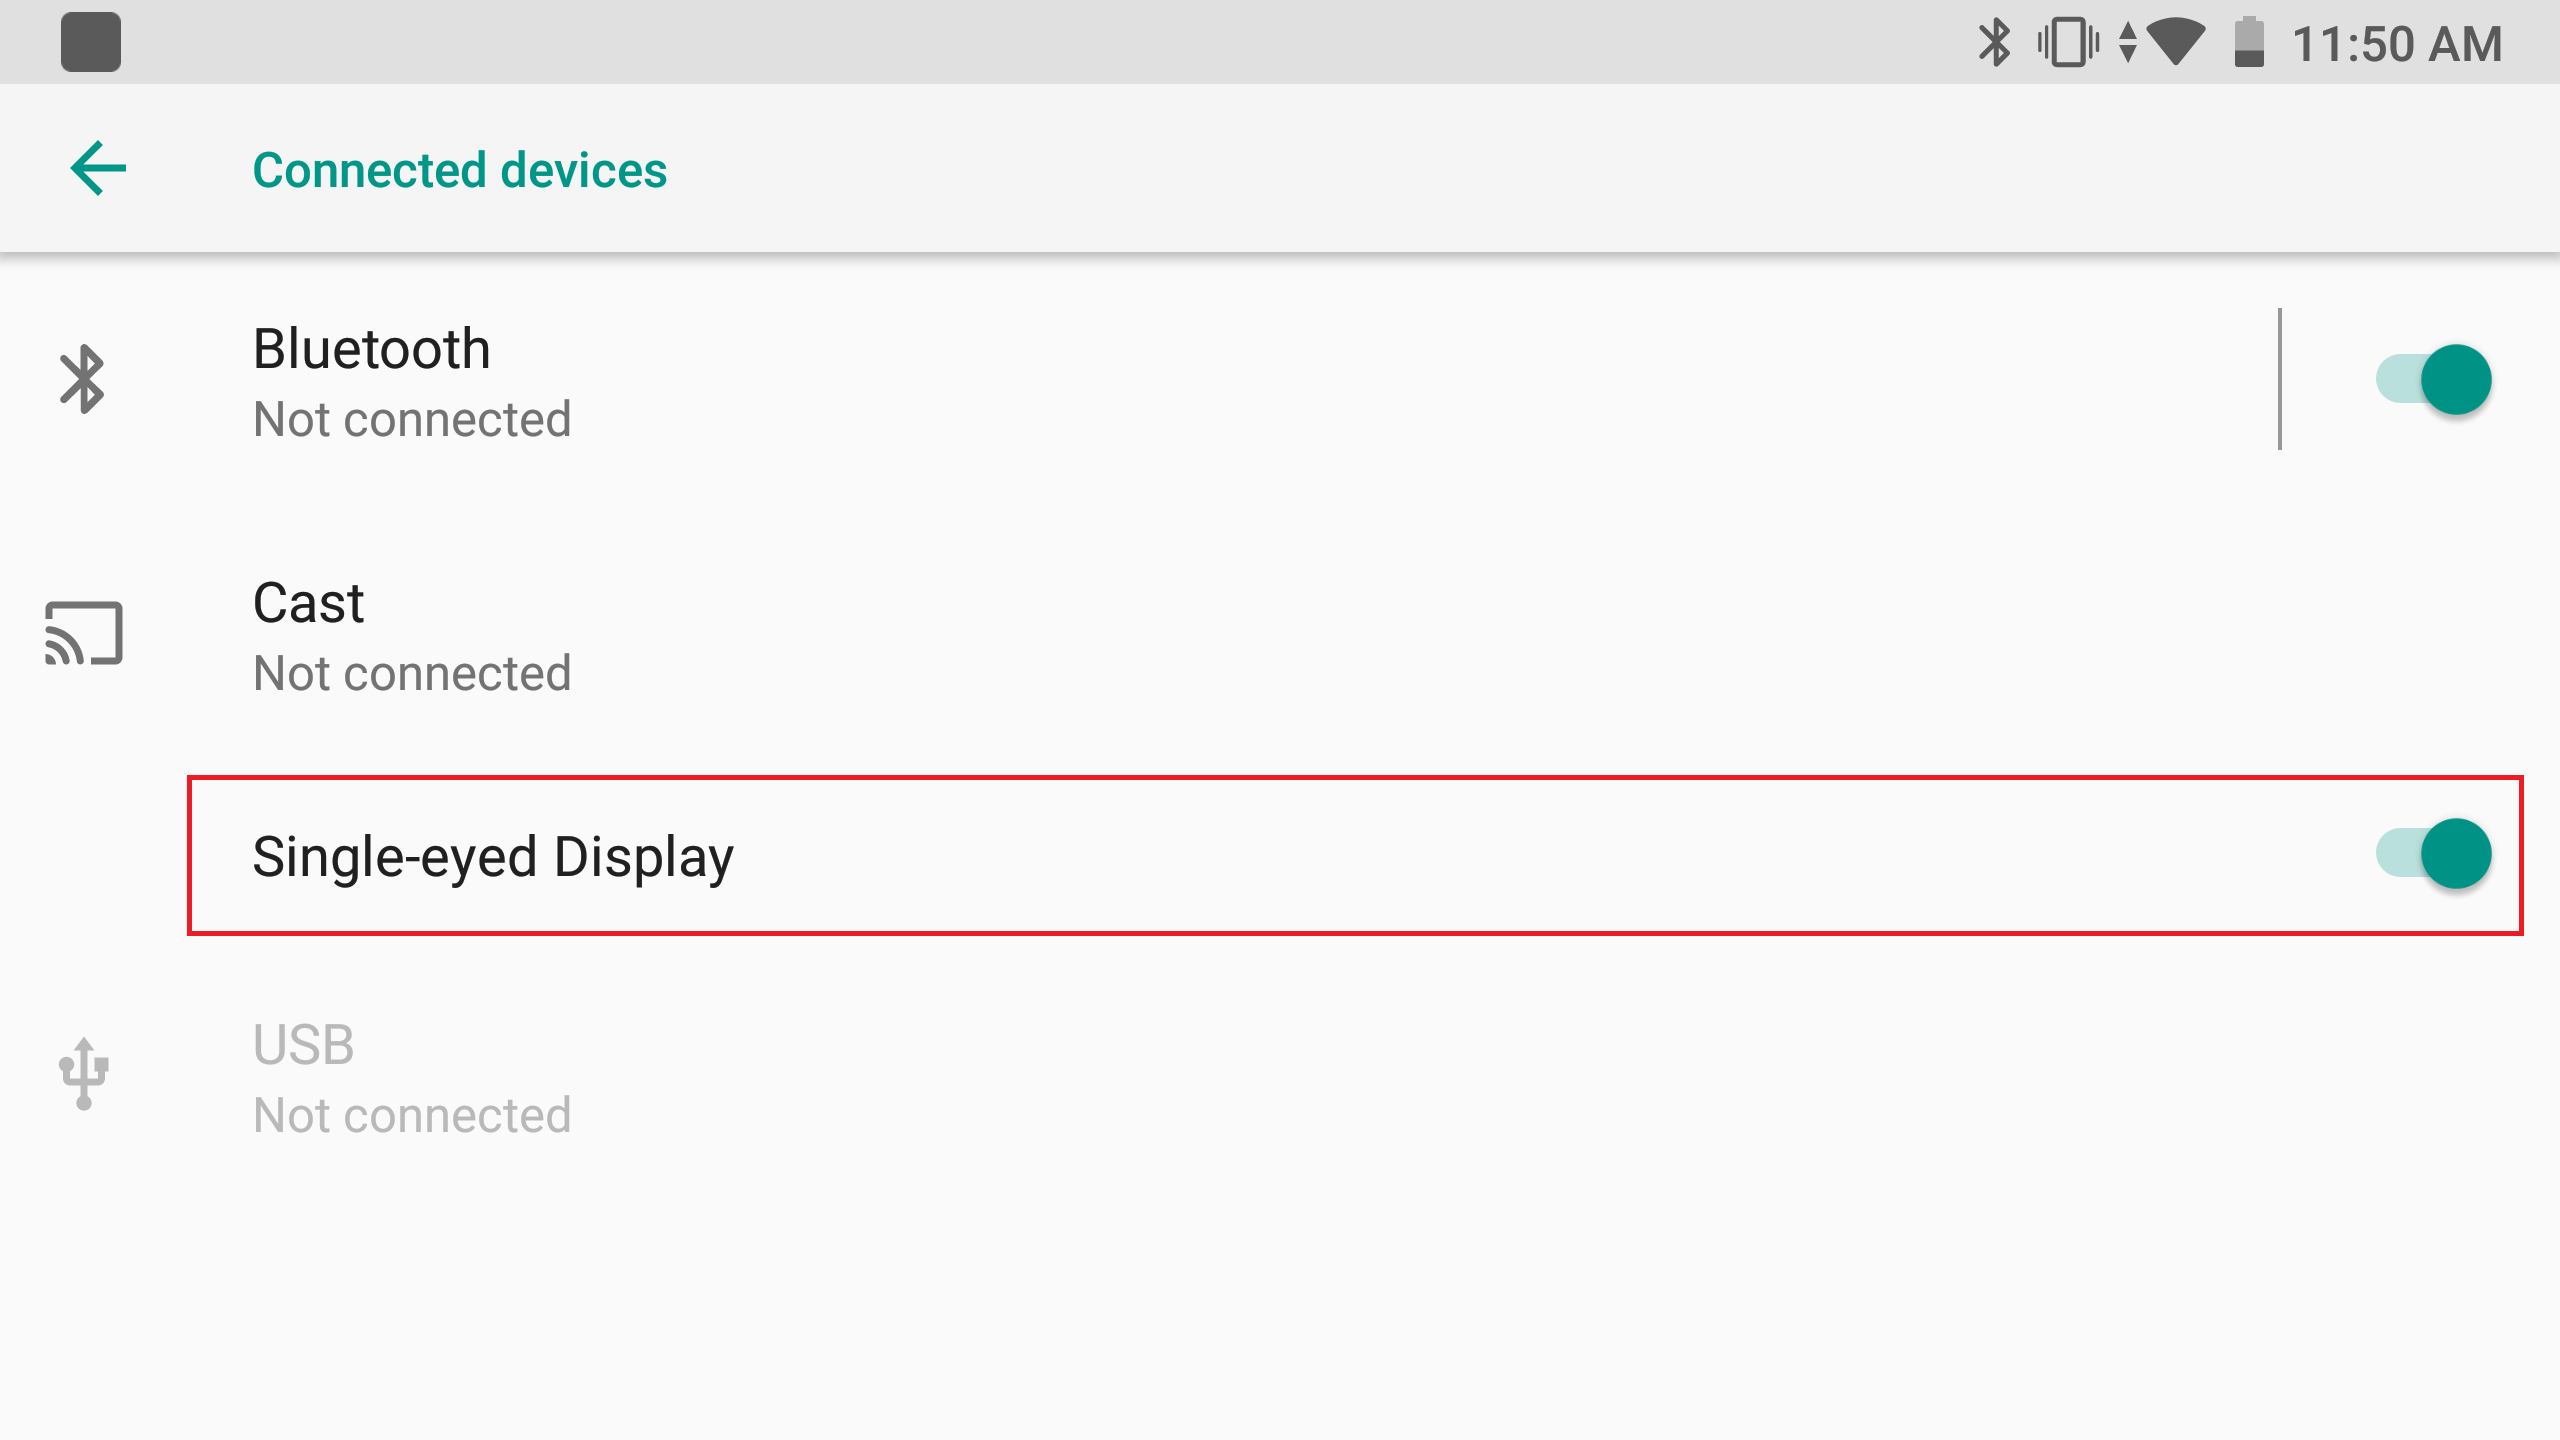
Note:If you need to project monocular view, please enter the 2D Settings, find “Connected devices” and click to enter, make sure the “Single-eyed Display” is enabled.
Neo3 series
1. Find Miracast application on TV/TV box, and make sure the application to start scanning.
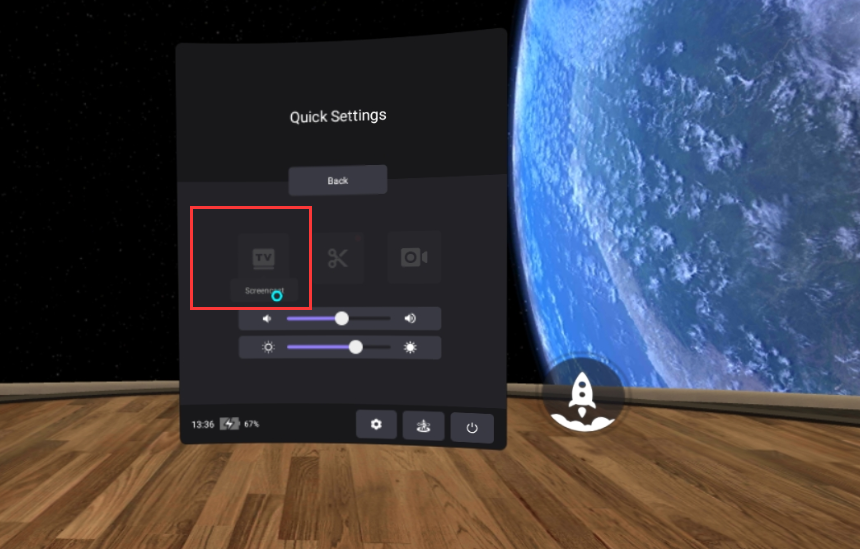
2. Pressing “Home” button to launch quick setting.
3. Click the “Screencast” button.
4. Click the“Screencast”,and select the“Use Miracast“.
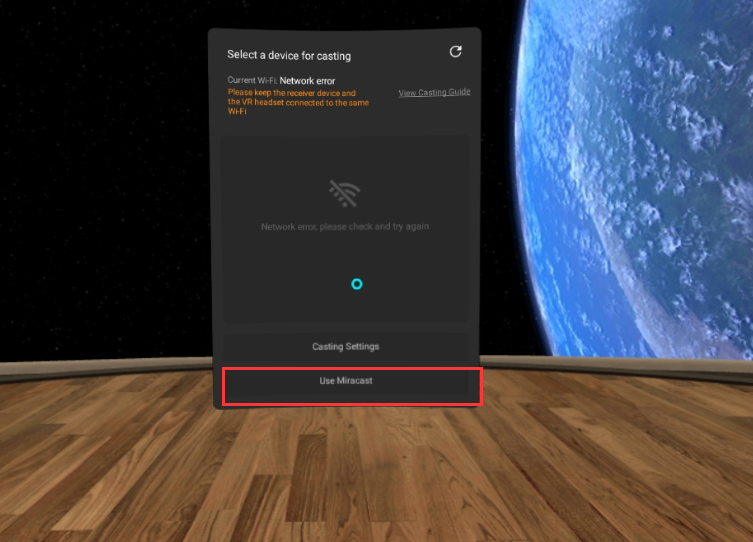
5. Click on the upper right corner to enable projection.
