6 Performance Optimization Guide
6.1 General Tips
VR application profiling provides insight into how an application is performing, then isolating and eliminating problems and bottlenecks. Focus on bottlenecks first. Change one thing at a time, for example, resolution, hardware, quality, configuration.
6.2 Performance Targets
FPS: Requires the actual frame rate of the application to be at least 72 fps
Draw Calls:The following factors may affect Draw Call
- Pipeline state switching (changing shaders, textures, meshes, etc. between draws)
- Share meshes and instance meshes as much as possible
- Use global texture arrays if you can
- Use a minimal set of unified shaders that don’t generate variants
- Graphics API and usage
- Vulkan vs OpenGL ES
- Multi-threaded Rendering - low latency vs frame-behind
- Usage of bindless textures / indirect draws
- Accounts of triangular surfaces
- No more than 1 million
6.3 Unity Profiling Tools
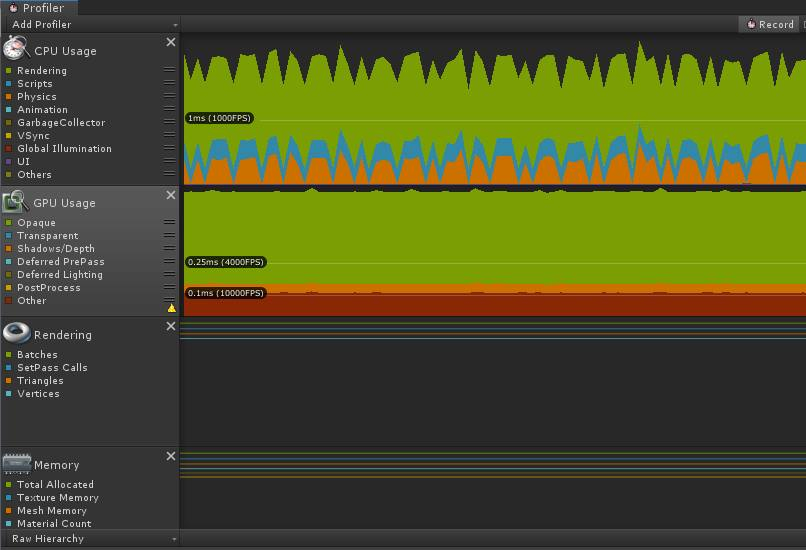
6.3.1 Unity Profiler
Unity’s built-in profiler provides valuable information such as per-frame CPU and GPU performance metrics, which can be used to help identify bottlenecks. You should lock your CPU/GPU level before profiling to get consistent profiling results and measure improvements. For more information about Unity Profile, go to the Profiler manual .
You can also profile your app as it is running on your Oculus Quest by using either adb or WiFi.Make sure to lock your CPU/GPU level before profiling to get consistent profiling results and measure improvements. For steps on using the Unity GPU Profiler, go to the GPU Profiler guide.
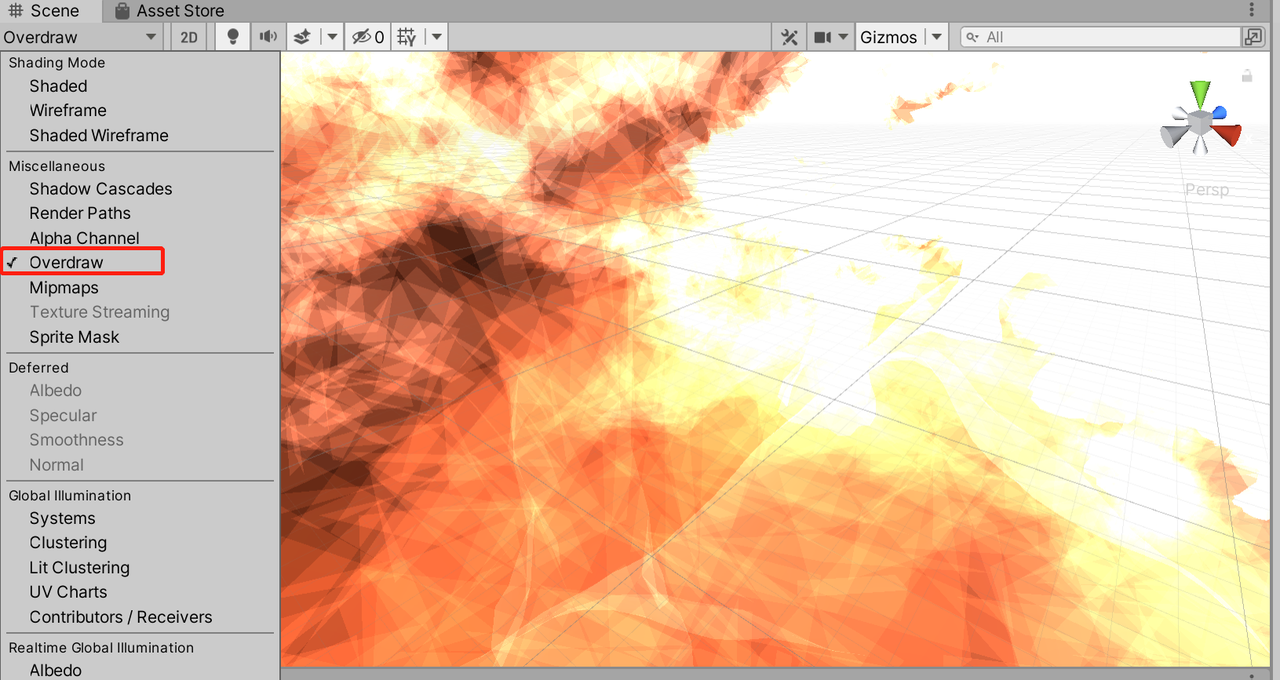
6.3.2 Show Rendering Statistics
Unity provides an option to display real-time rendering statistics. While in the Game View, pressing the Stats button above the Game View will display an overlay showing realtime render statistics.
In this mode, translucent colors will accumulate providing an overdraw “heat map” where more saturated colors represent areas with the most overdraw.
6.3.3 Unity Frame Debugger
Unity Frame Debugger lets you walk through the order of draw calls for any scene. Even if you’re not actively debugging, it can be useful for understanding how Unity is putting your scene together and debugging pipeline problems.
For more information, see Frame Debugger in Unity .
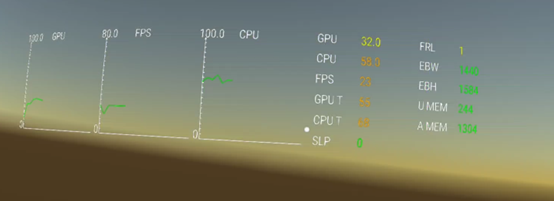
6.4 Metrics Tool
Metrics Tool allows developers to monitor performance of applications running on Pico Devices. Metrics Tool can provide developers with an overview of application performance and use it for verification.
When using the Metrics Tool, the statistics property to monitor needs to be selected. It’s applicable to select statistics either by clicking Basic or None button on the main page of the application or manually selecting statistics on the Stats tab.
For detailed information, please refer to Metrics Tool for Pico Documentation .
6.5 Advanced Rendering Methods
6.5.1 Foveated rendering
Foveated rendering optimizes the ability to render scenes by providing high resolution for the center of the field of view, and greatly reducing peripheral views the details of the scene.
For more information, see: Chapter 8.4 Foveated Rendering.
Graphics API and usage
6.5.2 Multiview
Multiview is based on native Unity multiview feature. It uses one camera to fulfill stereo rendering, reducing half of Draw Call and Occlusion Culling. Using this feature can increase frame rate dramatically in complex scenes. But SinglePass don’t support post processing. This option will take effect in all scenes.
For more information, see: Chapter 8.7 Multiview
6.5.3 URP configuration
For URP related information, please refer to https://docs.unity3d.com/Packages/com.unity.render-pipelines.universal@10.3/manual/whats-new/urp-whats-new.html.
Here, Unity 2019.4.2f1 is taken as an example.
- Open Window/Package Manager
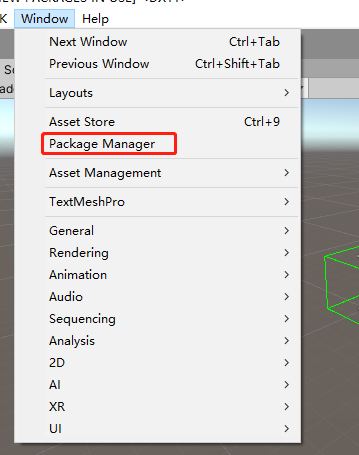
Fig 6.1 Window toolbar
- Select Show preview packages
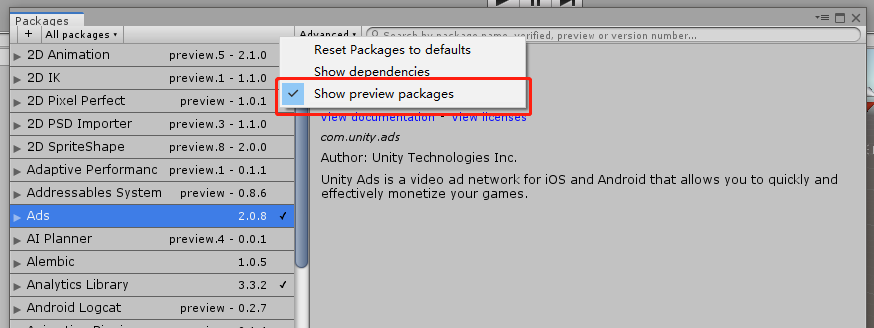
Fig 6.2 The advanced option of Packages
- Under “Universal PR”, click Install in the bottom right.
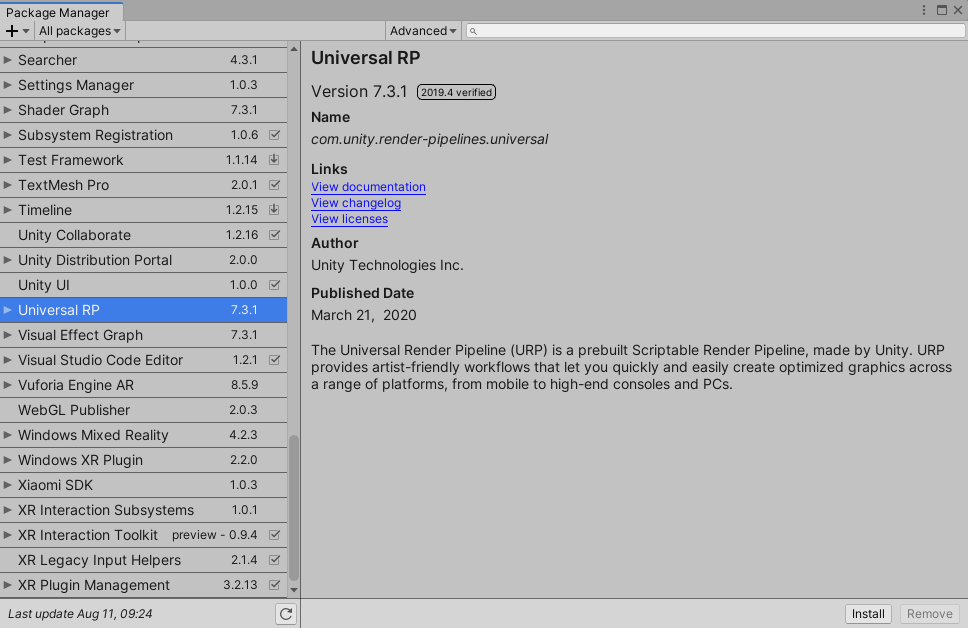
Fig 6.3 Install the URP
- Create Universal Render Pipeline Asset
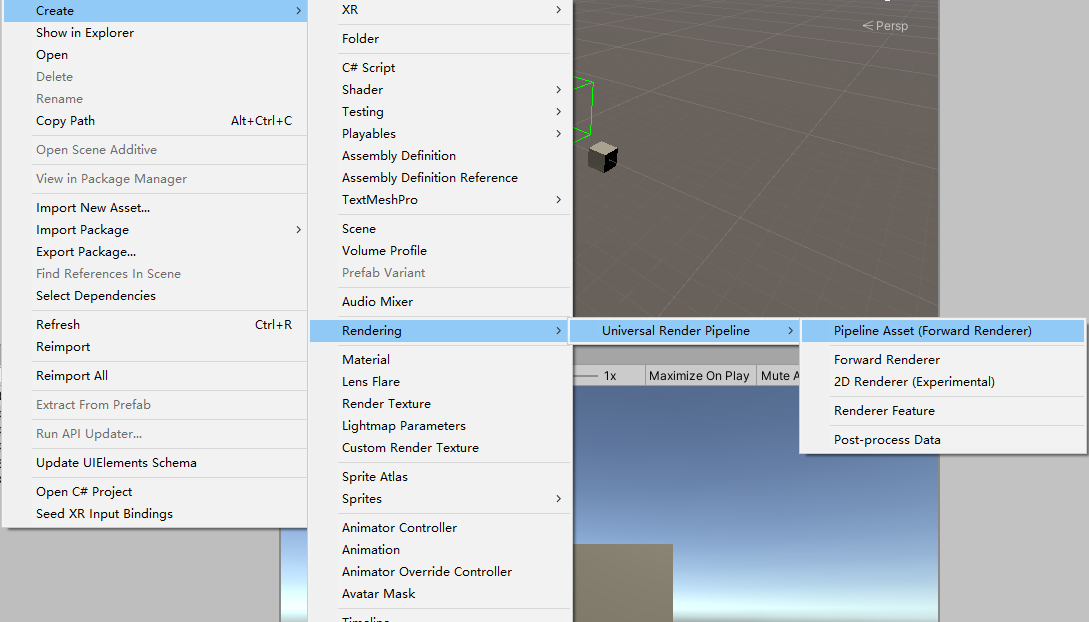
Fig 6.4 Create URP Asset
- Use UniversalRenderPipelineAsset
Drag and drop the file created in Step 4 to Scriptable Render Pipeline Setting field in Project Setting/Graphics
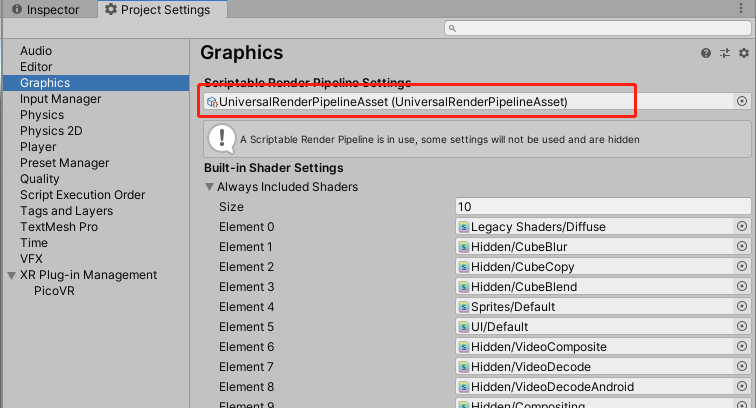
Fig 6.5 Use URP Asset
- Uncheck HDR

Fig 6.6 Uncheck HDR
- Replace materials in the project with URP materials
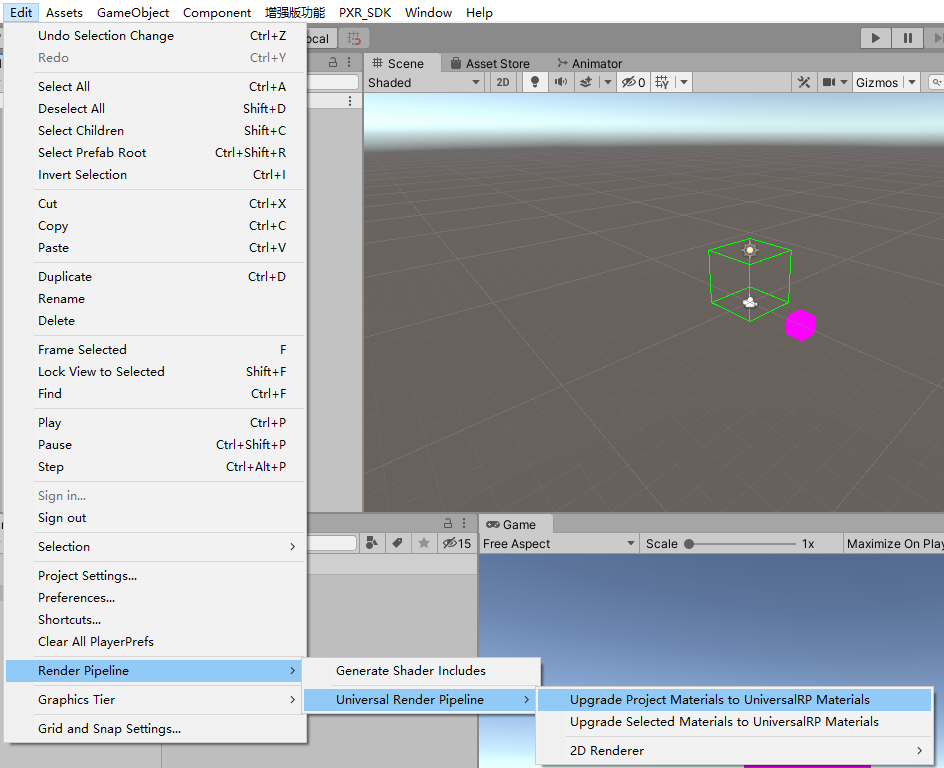
Fig 6.7 Update materials in the project
6.5.4 VR compositor layers
The “Compositor Layers” is useful for displaying information, text, video, and textures “intended to be the focal point of the scene”, and can also be used to display simple scene environments and backgrounds. See Chapter 8.5 Compositor Layers for details.