2 General Steps of Replacing the Oculus SDK
- Step 1:Delete the Oculus folder in the Unity project. Note that it’s strongly recommended that you back up the project first.
- Step 2:Import PicoVRUnitySDK in the Unity project
- Step 3:Replace the Oculus components with Pico Prefabs:
- Replace OculusVR camera OVRCameraRig with the PicoVR camera Pvr_UnitySDK located in PicoMobileSDK > Pvr_UnitySDK > Pvr_UnitySDK:
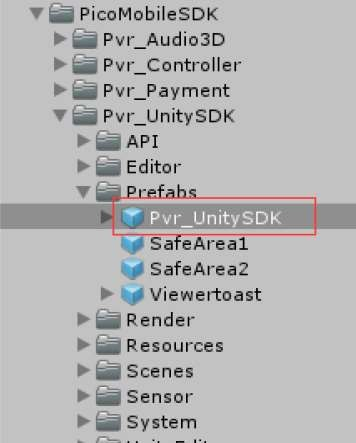
Figure 1 - Pico Prefabs.
- Transfer the existing objects and scripts from the OVRCameraRig to Pvr_UnitySDK in the project.
Note: if there is a script mounted on a camera, transfer it to Head > LeftEye and/or Head > RightEye.
- Change UICanvas:
- Replace EventCamara on the Canvas component with Head.
- Remove the Oculus OVRRaycaster script and add Pvr_UICanvas and GraphicRaycaster:
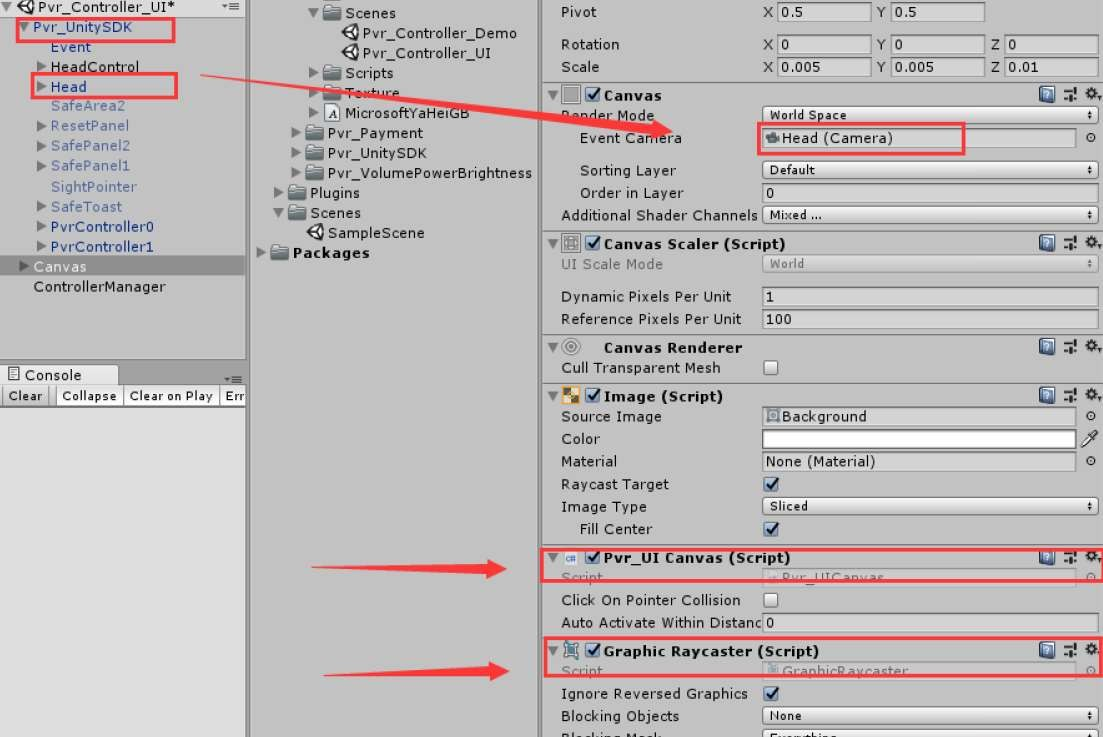
Figure 2 – Replacing Oculus Elements with Pico Elements.
d ) Replace the existing controller related code with PicoVR controller API and key code:
- Pvr_UnitySDKAPI.Controller.UPvr_GetKeyDown( Hand, Key )
Parameters: Hand refers to controller index, Key refers to specified key value.
| APP Key | Pvr_KeyCode.APP |
| Touch Key | Pvr_KeyCode.TOUCHPADs |
| Trigger Key | Pvr_KeyCode.TRIGGER |
Note: Please refer to the Pico SDK API document for other settings.
- Step 4:Refer to the Pvr_Controller_UI interactive demo located in Scenes:
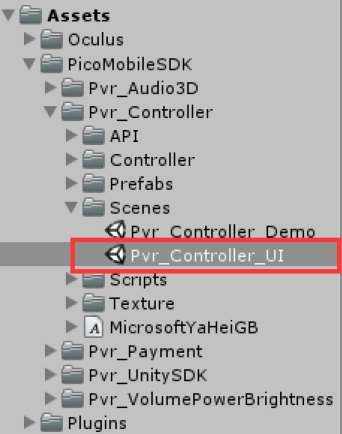
Figure 3 – Location of the interactive UI demo.