4 SDK接入快速入门
- Step1:新建工程
打开Unity,新建工程如下:
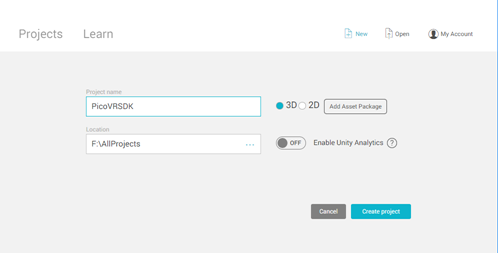
图4.1 新建工程
创建cube1、cube2、 cube3,设置其Transform信息分别如下:

图4.2 cube1 Transform

图4.3 cube2 Transform

图4.4 cube3 Transform
- Step2:导入SDK
选择菜单Assets>Import Package>Custom Package…
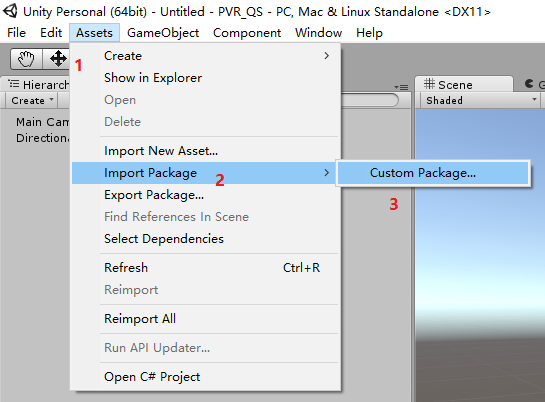
图4.5 导入Custom Package
此时系统会弹出一个对话框,选择“PicoVR_Unity_SDK-版本号.unitypackage”后点击打开
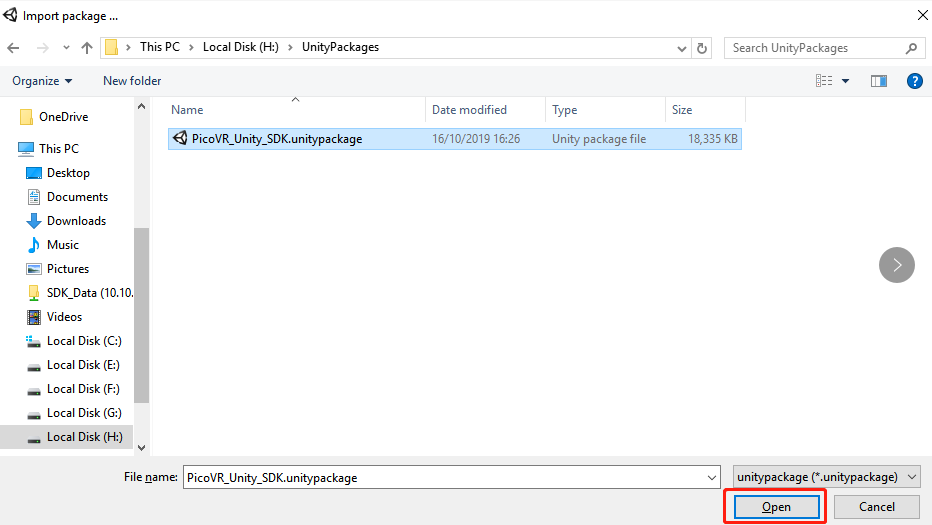
图4.6 选择Unity Package
打开后,系统又会弹出一个对话框,请根据需要导入相应的部分:
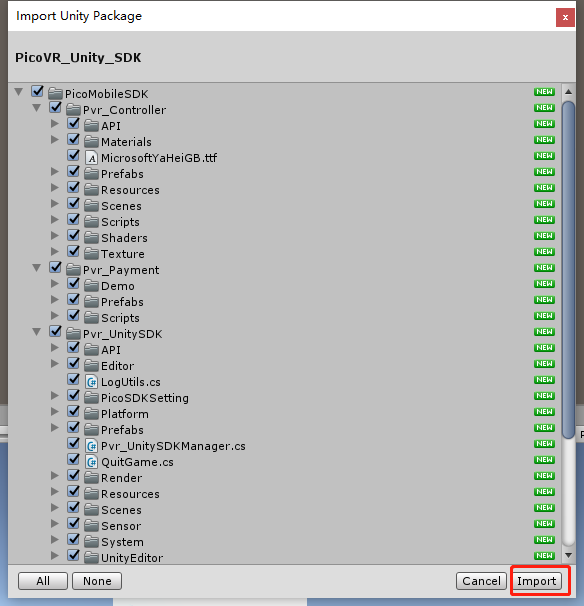
图4.7 导入选项
导入package后,SDK会自动设置3.3章节Default Orientation为Landscape Left,V Sync Count为 Don’t Sync。
- Step3:使用SDK
进入Project选项卡,依次展开Assets> PicoMobileSDK >Pvr_UnitySDK>Prefabs,将Pvr_UnitySDK预制体拖放入场景,将其Transform组件的Position和Rotation均设置为(0,0,0):

图4.8 Pvr_UnitySDK预制体所在目录
放入后,场景的Hierarchy应入下图所示:
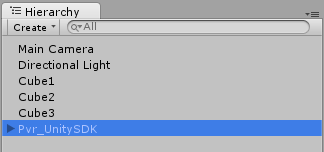
图4.9 场景的Hierarchy
为避免场景中其他Camera对SDK的立体渲染产生干扰,所以最后一步还需要删除上图中的Main Camera。
注意:如果项目中有多场景,推荐只在主场景内放置Pvr_UnitySDK预制体,然后在此预制体下增加“DontDestroyOnLoad”方法。保证切换场景的时候只有一个Pvr_UnitySDK预制体。
- Step4:模拟运行
点击运行按钮,在Game窗口中可看到如下:
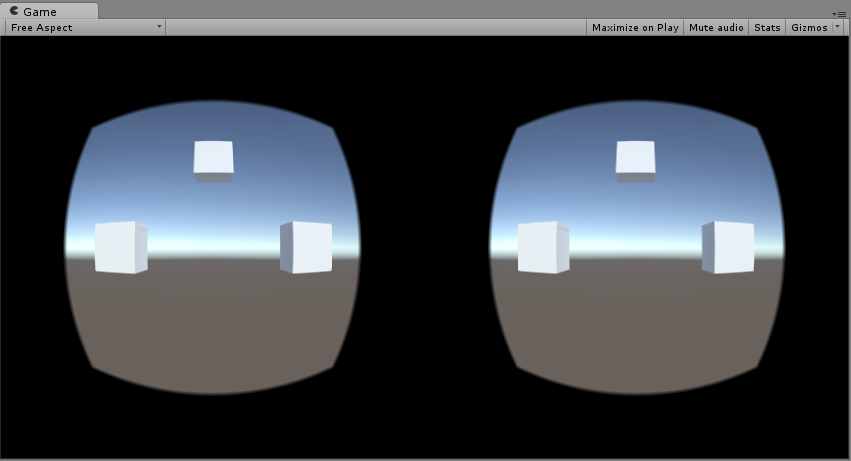
图4.10 模拟运行
按住Alt,移动鼠标,画面跟着上下左右转动;按住Alt+点击鼠标左键 选择VR模式还是Mono模式(仅Unity Editor)。
- Step5:打包
打包时首先保存当前场景,然后进入File>Build Settings…,点击“Add Current”,将当前场景加入构建列表。还要在Platform处选中Android,然后点击“Switch Platform”,最后点击Build即可完成打包。
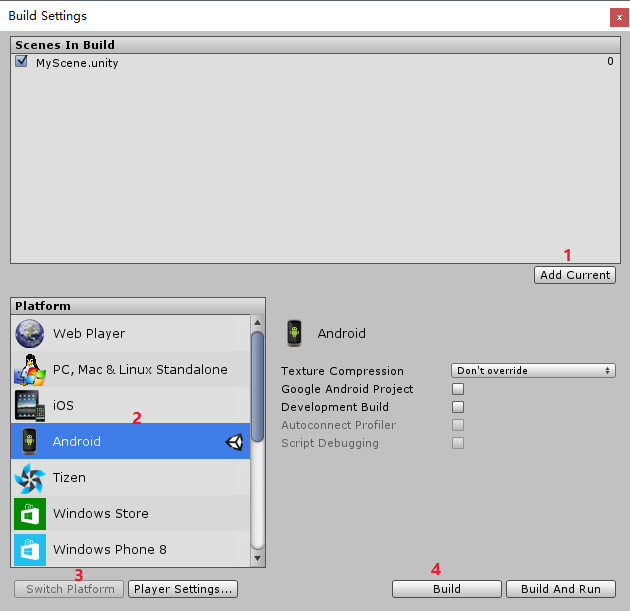
图4.11 打包
若不想使用Pvr_UnitySDK预制体可按照以下步骤运行
1.增加Pico Manager :新建物体,增加组件Pvr_UnitySDKManager,若使用手柄再增加组件Pvr_ControllerManager,不使用手柄可不加。
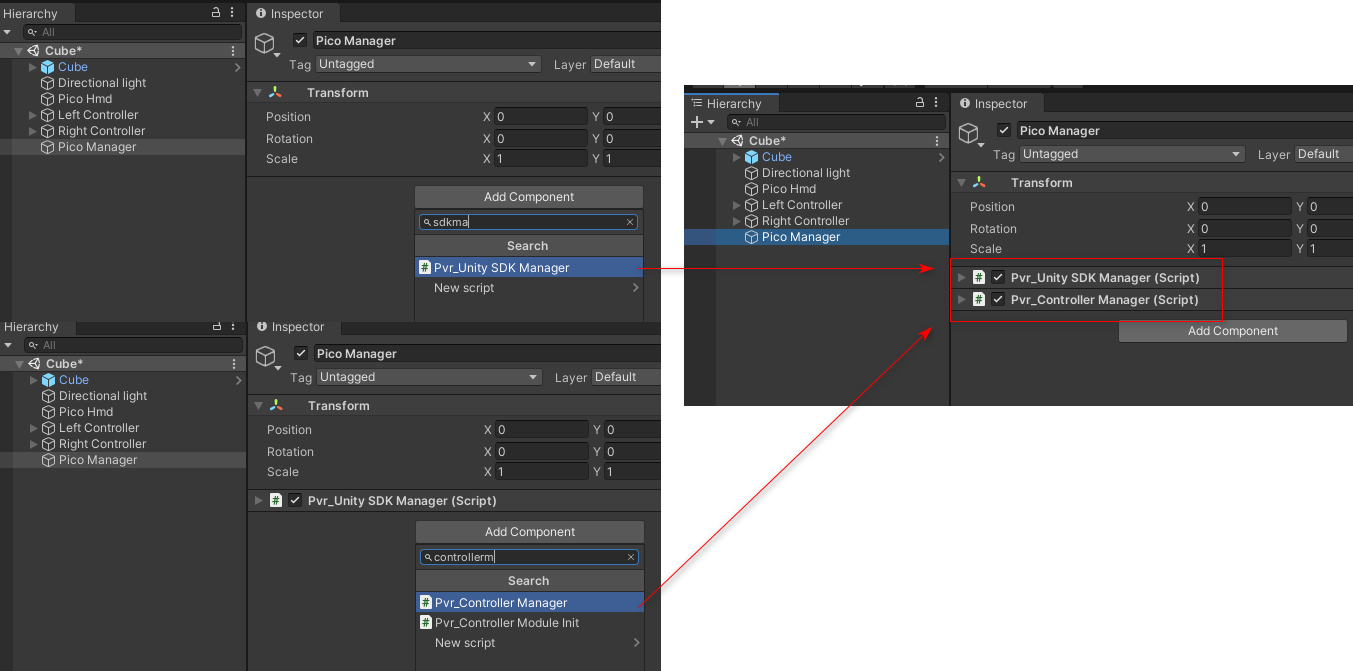
图4.12 增加Pico Manager
2.使用PicoDevice:新建物体,增加组件PicoDevice,头戴DeviceType 选择HMD,手柄DeviceType选择LeftController/RightController。
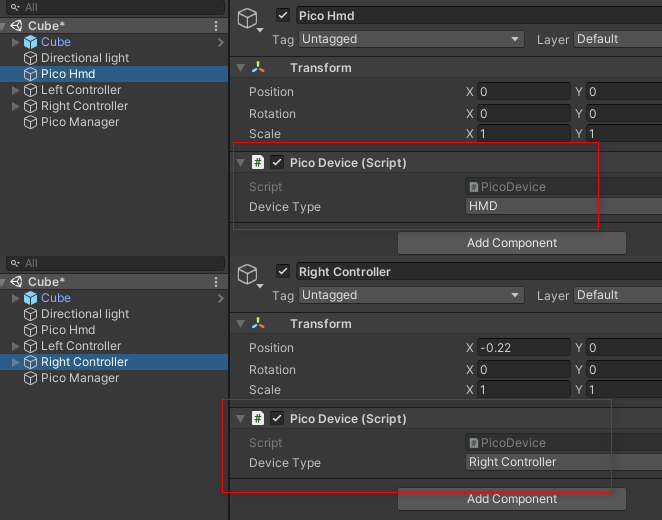
图4.13 使用PicoDevice
3.打包到设备运行