2 General Steps of Replacing the Oculus SDK
- Remove the Oculus VR Plugin from Settings/Plugins
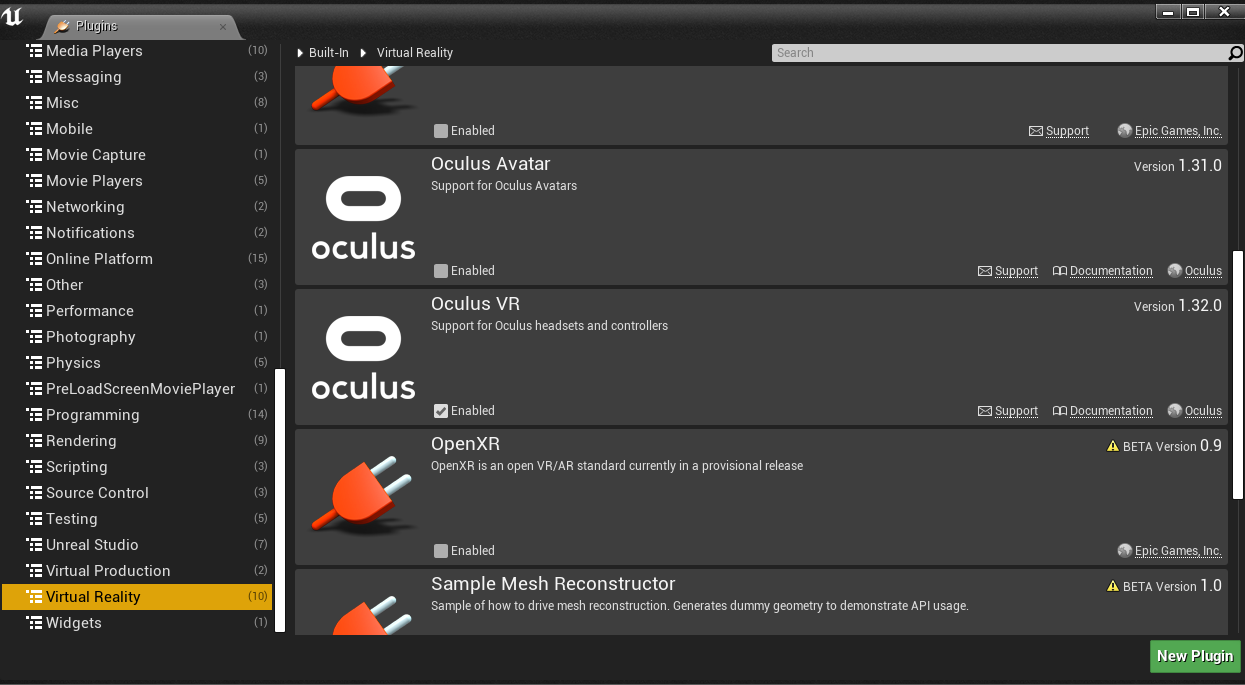
Figure 1 Removing Oculus VR Plugin
- Close the Project
- Copy the Folder Plugins to the Root of your Project
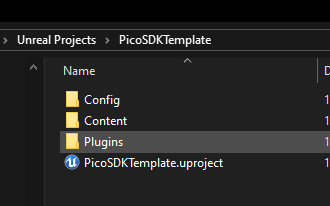
Figure 2 Add the Plugins Folder from the SDK Zip downloaded
- Open your project clicking in the .uproject file
- Click on Yes on the following dialog:
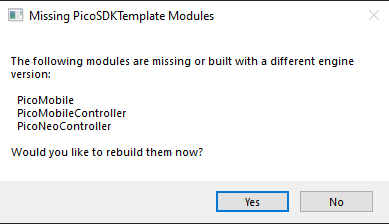
Figure 3 Compile the Plugin before entering again into your project
- Wait for the compilation to finish (it may take some time)
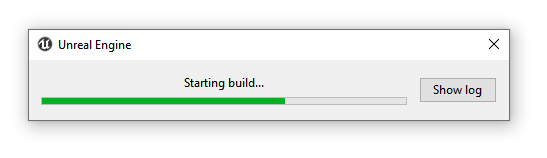
Figure 4 Wait until the building process is done
- Open the windows Settings/Plugins and you should see the Pico Plugins enabled
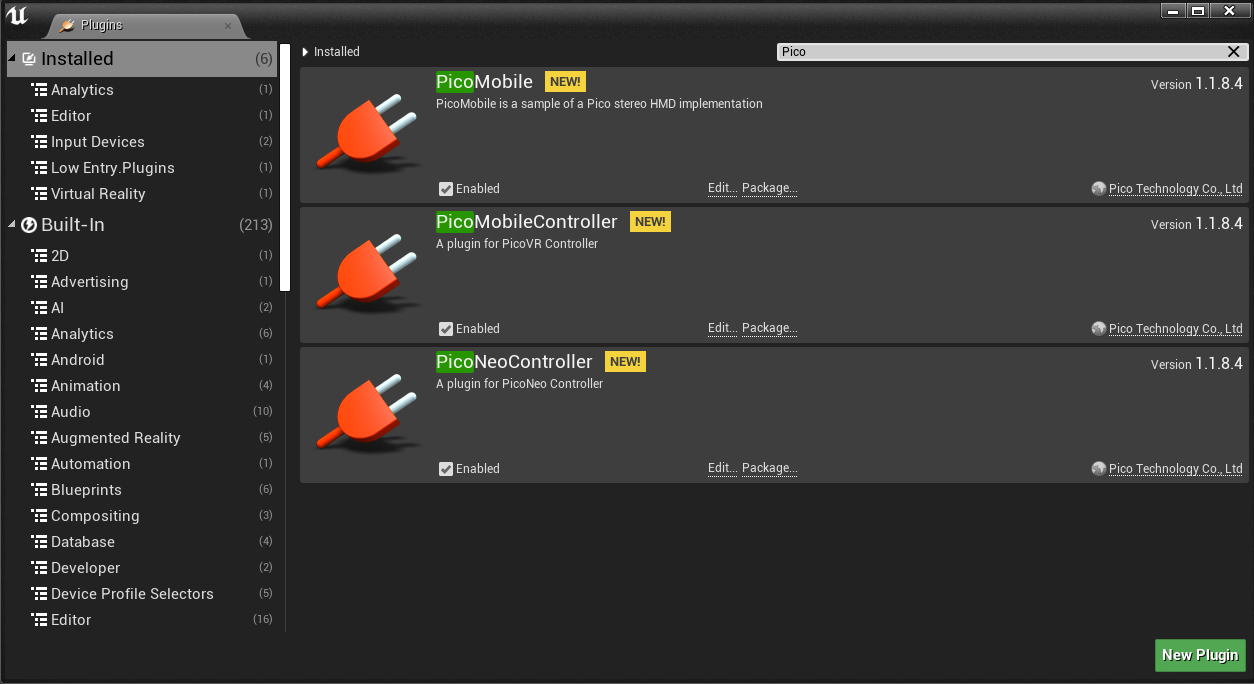
Figure 5 Check all the 3 Pico Plugins enabled
- If you are using the Visualization Property on your Motion Controller Component,change it for the appropriate device

Figure 6 Change the Visualization of your Motion controller to the proper one
- Ensure that you have the View Options checked for Show Plugin Content
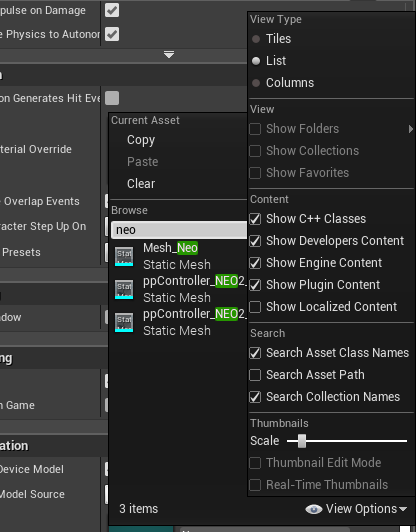
Figure 7 Do not forget to enable “Show Plugin Content” to be able to see the models and materials from the Pico Plugin
- The Set Tracking Origin node has two options: Floor Level and Eye Level. For a seated experience you will need to set the Origin of the Set Tracking Origin node to Eye Level.
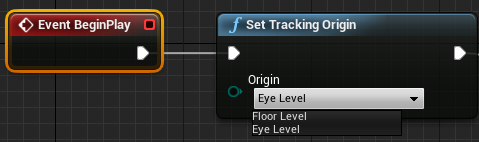
Figure 8 Set the Tracking Origin to the Eye Level
- Next, in the Variables section of the My Blueprint tab, create a new float variable called Default Player Height and set the value to 170 (1,70m).
- Drag the output of the Set Tracking Origin node and search for the AddLocalOffset node, selecting the AddLocalOffset option.
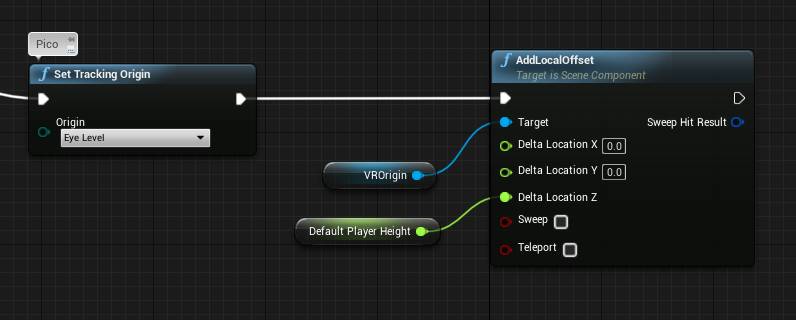
Figure 9 Setting the desired height of your player
- Connect the Default Player Height variable to the Delta location Z input on the AddLocalOffset node and then press the Compile button and when completed, your Event Graph should look like the following image.
- Change the Action Mappings to understand the Pico Triggers
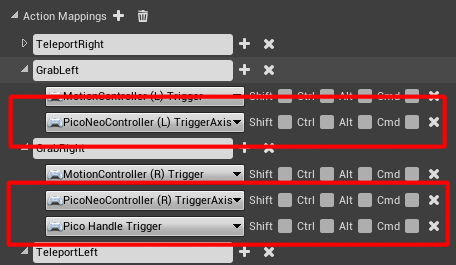
Figure 10 Adding the Pico Trigger Axis to function as the MotionController Trigger
- The default Face Buttons from Unreal Motion Controller are already mapped to the Pico Motion Controllers inputs.
- In order to create a package, check the option to Pack the game data inside the .apk

Figure 11 Remember to check the option to Package the game data inside .apk
- To Finish ,select the desired options on the Plugin configuration section at Project Settings
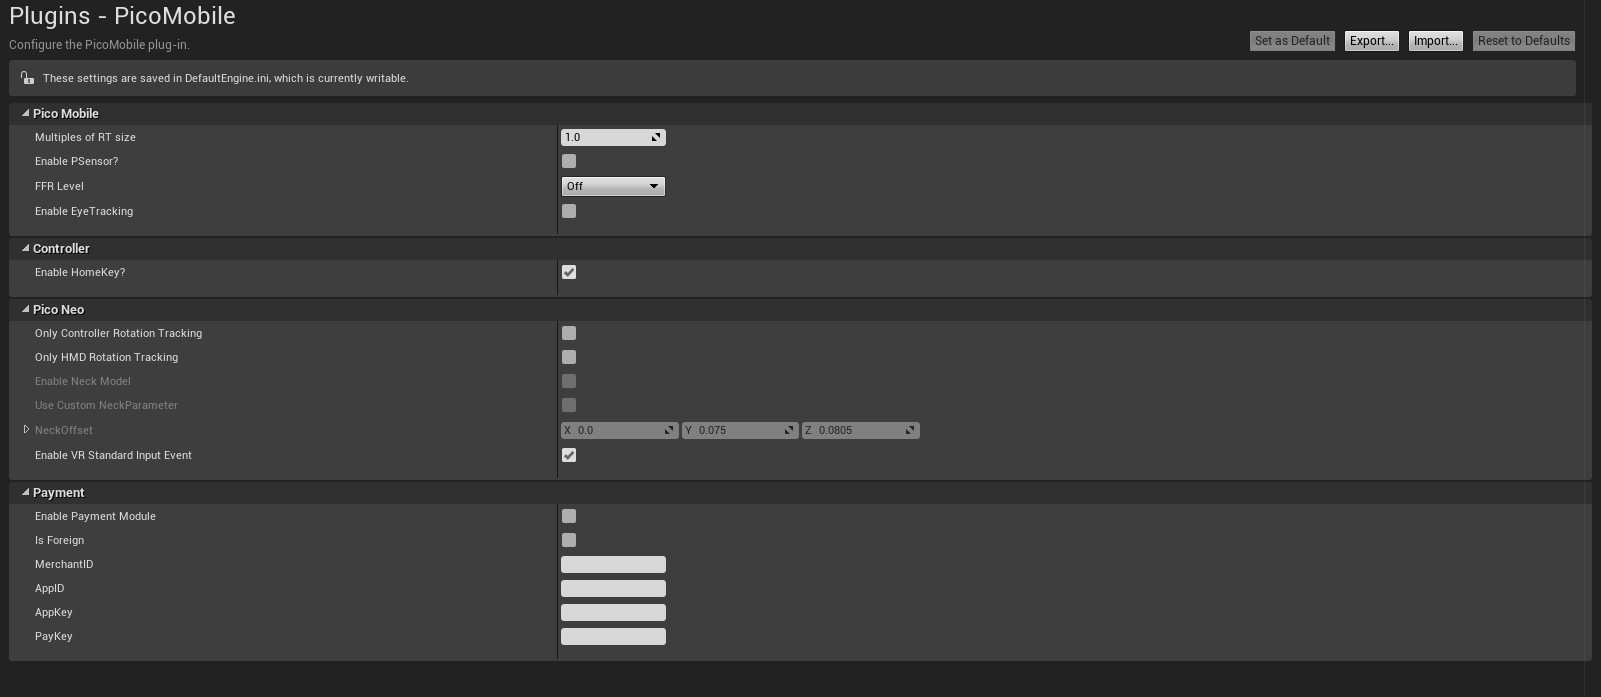
Figure 12 Extra options are available through the Project Settings on the Pico Plugin tab